Category: Peru

  • A Beginner’s Guide To Studying Spanish Abroad

    A Beginner’s Guide To Studying Spanish Abroad

    For me, learning the language has always been one of the most fulfilling aspects of travelling to a new country. In fact, my first ever solo trip was a full time language course in Spain, and it’s still one of my fondest travel memories.

    Since then I’ve always made an effort to learn some of the local language wherever I am, and it never fails to add a fun and rewarding dimension to my trips. If I’m based somewhere long term I will usually take classes, however for shorter stays I still try to learn as much as possible through self teaching.

    Spanish is one language that I’ve spent a considerable amount of time studying overseas, and I’ve since learned that there are many different variables to consider when deciding to do this.

    In this post I’ll run through each of them, and hopefully by the end of it you’ll be on the verge of heading overseas to make Spanish your official second (or third or fourth) language 🙂

    Spain or Latin America?

    Every prospective Spanish student wonders the same thing – “Should I study in Spain or South America?”

    I’ve actually done both – studying Spanish for 5 weeks in a language school in southern Spain and then again for 9 weeks at a language school in Peru and also Ecuador. There’s obviously pros and cons to each, which I’ll lay out below.

    Studying Spanish in Spain

    Purists would argue that you should study in Spain because you’ll be learning the “official” Spanish (or Castilian, as it’s sometimes called). In a way that kind of makes sense – the language did originate there after all. You’ll also be situated in Europe, with France, Italy, Switzerland and Portugal just a train ride away, but keep in mind that Western Europe is one of the world’s most expensive regions.

    As for the language itself, the Spanish in Spain is slightly more complicated, the one notable difference being the extra verb form “vosotros” (basically that means you’ll have an extra form to learn for each verb – annoying, but no biggie).

    There are also small pronounciation differences, for example, the Spanish have the lisp when they pronounce their C’s and Z’s (i.e. gra-thi-as) while the Latin Americans pronounce it as an S. The letter V also varies – the Latin Americans pronounce it as a V while the Spanish pronounce it as a B. Again, not a big deal but worth noting.

    One thing you’ll definitely notice is people in Spain speak significantly faster than the Latin Americans, and I found this made them a little harder to understand. For advanced speakers it won’t matter so much, but it can make quite a difference for beginners.

    Lastly, it’s important to consider where in Spain you want to study – every region speaks a different dialect and this will impact your learning. For example, I studied in Andalusia where I was often spoken to in the Andaluz dialect. I was a beginner at the time so this wasn’t ideal for me (of course, this problem is easily avoided by studying in Madrid).

    The good

    • Situated in Europe with many travel opportunities
    • “Official” Spanish (although with many different variants and accents)
    • Beautiful weather, food, excellent tourist infrastructure

    The bad

    • More expensive
    • Many different dialects in the country
    • Spanish is slightly more complicated

    Studying Spanish in Latin America

    People argue that you should study in Latin America because their version of Spanish is more widely spoken, however this isn’t entirely true. Every country in Latin America has their own unique style of Spanish with very different accents, words, phrases and slang. For example, I studied in Peru for two months and when I visited Colombia I suddenly found it extremely difficult to understand anyone. Then when I visited Argentina it was the same thing all over again. The takeaway here is, regardless of whether you study in Spain or Latin America, the Spanish you’ll learn is going to be a little bit different to everyone else’s.

    In my opinion, the true benefit of studying here is you can travel around the continent and everyone will still be speaking Spanish, even if it is a little different. Therefore if you’re looking to study for an extended amount of time, say, 6 months or more, Latin America would definitely be the better choice. You could experience 3 or 4 countries, all the while continuing your studies and familiarising yourself with several accents and phrases.

    Also Latin America is still mostly comprised of developing countries meaning everything, including your tuition fees, will be far cheaper than in Spain. I remember my classes in Peru only cost me around $60 a week, whereas in Spain it was at least 3x that.

    As for the language – it’s simpler and easier here. They speak slower and the grammar is slightly more basic as I discussed earlier. I did come across a lot more slang here, although I’m not sure whether it’s because my Spanish improved and I just noticed it more or if that’s actually representative of the language itself. Either way – I found the people in LatAm much easier to understand.

    One last thing to note is that travel around South America isn’t exactly cheap or easy. Flights between countries are actually very expensive, and taking buses is generally long and arduous. It definitely won’t be like Spain where you can jump on a train and be across the border within a few hours. Keep this in mind if you plan on country hopping.

    The good

    • Cheaper cost of living and tuition
    • Large variety of countries to choose from
    • The Spanish is simpler and easier to learn

    The bad

    • General travel issues with developing countries (hygiene/safety/transport/tummy issues)
    • Each country speaks a slightly different Spanish, none of which are Castilian (if that matters to you).

    My opinion on studying Spanish abroad

    As you know I’m all about stretching dollars so Latin America is generally my first choice. The many different countries to experience and the the lower cost of living is just such a big plus for me. Also, much of Latin America is still developing and the continent(s) is changing quite quickly. While Spain probably won’t evolve too much over the next 10 years Latin America certainly will, and that urges me to see the continent now before it enters first world territory. Of course, that’s just me, and your priorities are bound to be very different!

    Which should you choose?

    Obviously there’s no right answer here – it largely depends on your preferences and your reasons for learning the language. I think the only real question you need to ask yourself is, where do you intend to use it?

    If you forsee yourself spending more of your life in Spain, learn it in Spain. If you intend to spend a lot of time in Latin America, learn it in Latin America. Pretty obvious, right? Of course, if funds allow it I’d definitely advocate trying to experience both – they’re each incredibly fulfilling in their own ways.

    Different options for studying Spanish

    You’ll also need to decide “how” you want to learn the language.

    Some people just show up, find a bunch of language partners on Couchsurfing and then teach themselves with a Pimsleur or Rosetta Stone course.

    Others enrol in an intense 30 hour per week course and are conversational within a month (I’m a big fan of this). So what are your options?

    Language school

    This is not affordable for everyone, particularly in Spain. Good language schools cost money, but in my opinion a good school is definitely worth every cent.

    If you’re a complete beginner, I would say a month in a language course is the best possible way to get started. This ensures you create an excellent foundation and have a good understanding of the basics. Remember – habits are easy to make and hard to break.

    To find my school in South America I used the site languagecourse.net. You can compare a large collection of schools there and also read reviews from other students, which is always helpful.

    To find my school in Spain I used STA Travel. Their programmes are a little pricier (I was working at the time so had a much bigger budget), but the school I ended up at was incredible, and I would highly recommend them.

    Things to look for in a language school

    • Location – Ensure the school is located in a central location and close to public transport. If the school is located out in the suburbs your transportation costs will skyrocket, and you’ll also be far away from the action which is never fun. Also, consider the cost of living in the city you’ve chosen – living in Madrid will obviously be more expensive than living in Cadiz.
    • Price – Price varies a lot between language schools; make sure you shop around!
    • Facilities – Some schools will come fully equipped with a gym, pool, restaurant, shuttle service, perhaps even dance and cooking classes. However, this usually results in higher fees too, so make sure you’re going to use the facilities if you’re paying for them! At the very least, make sure the school offers the essentials, such as wifi and course materials.
    • Reviews – Check sites like languagecourse.net and read through the reviews of previous students – these will give you the best idea of whether the teaching and facilities are of a decent quality.

    Private tutor

    While studying in Spain I had 1 on 1 conversation classes, and this sped up my progress exponentially. If your budget allows, I’d highly recommend some sort of private tuition.

    However, it can be quite difficult to find a “good” and affordable private tutor. I think the best way is through word-of-mouth, so ask other students, check out the notice boards in cafes etc and look on sites like Craigslist (or put up an ad of your own). It’s also common that your language school will offer this service, and while it may be more expensive you can usually be confident the teaching quality will be high.

    Self teaching

    If you’re an English speaker, Spanish is actually quite an easy language to grasp and you can get quite far with self teaching.

    I recommend the website Duolingo, which has an incredible free course that covers near everything there is to know about Spanish grammar, all broken down into small, easy to follow lessons.

    As mentioned earlier, you can also use a programme like Rosetta Stone or Pimsleur (these cost money however).

    For online dictionaries, grammar explanations and translations, SpanishDict is my go-to site.

    Language partners

    Whichever method you choose, you’ll need a language partner to practise with. I actually think the best place to find one is Couchsurfing – most countries will have a language group and you can simply post your request for a language partner there.

    You could also try a site like Interpals – another free language networking site. Of course, most language schools will also have a language partner programme to help you out with this.

    Other options

    Of course, organised study isn’t the only option. Many volunteer programmes throughout Latin America offer daily Spanish classes to assist you with your role, and the environment you’ll be in is perfect for Spanish learning (often lower socioeconomic communities where English is hardly spoken).

    Au pairing is also possible in Spain and Latin America, which will allow you to live with a local family and practise your Spanish constantly with native speakers.

    The great thing about these options is that your room and board will usually be covered, allowing you to stay in the country for a lot longer than you normally would be able to.

    How long do I need?

    People often wonder, is it worthwhile to just do a one week or two week course? My opinion is this – it depends.

    If you’re from New Zealand (like me) heading to Spain for a two week course seems like a bit much. Just getting to Spain and back is already around 3 days of travel, and you’ll probably need another week or so to beat the jet lag. In that case, I’d recommend at least a month to get your money’s worth.

    On the other hand, if you’re from the Europe then a two week trip down to Spain would work perfectly.

    As for actual learning time, you could expect to learn a lot in 2 weeks. Spanish is quite easy to grasp for native English speakers, and many of the intense courses (25-30 hours per week) are designed to have people fluent in 6 months. If you attend your classes, you can expect to move quite quickly.

    For those who are planning a big backpacking trip of Latin America, my advice would be to spend the first two weeks in an intensive Spanish course – it will change the dimension of your trip entirely!

    Good luck!

    As you can see, there’s quite a bit to think about when deciding to head overseas and study a language. To some people it can seem odd (why would you go on holiday to study?) but to others it is incredibly rewarding. In the end, just go with your gut and enjoy it. It’s a beautiful language and whichever avenue you choose I’m sure you’ll have a blast.

    Buena suerte!
  • The Budget Traveller’s Guide to Machu Picchu

    The Budget Traveller’s Guide to Machu Picchu

    Looking to visit Machu Picchu on a budget?

    Luckily for you, finding the cheapest way to visit any place is my specialty! And Machu Picchu is the perfect choice 😉

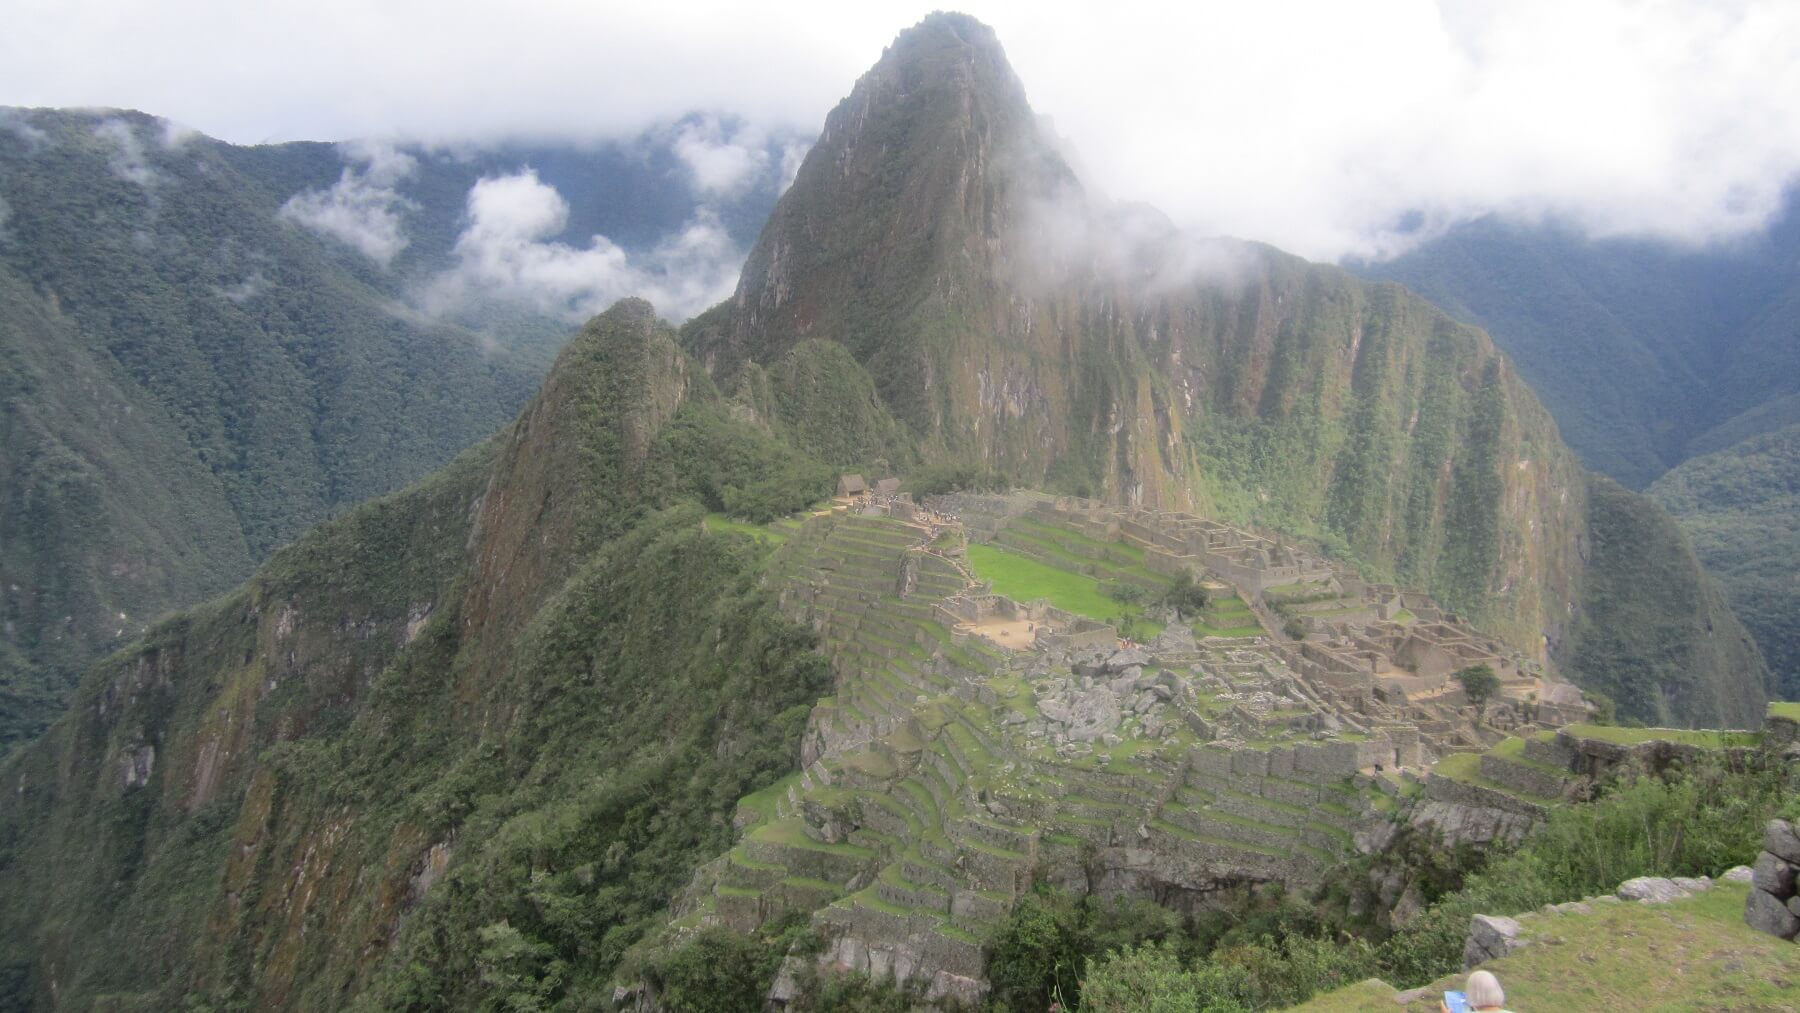
    These ruins sit high in the Andes of Peru, almost 2,500m above sea level. You might think of it as the Ancient Incan version of Dubai, or perhaps even the Playboy mansion: an exclusive hideaway for the Incan Empire’s rich and famous. Whatever it was it was certainly well hidden; so high up in the clouds that the even the Spaniards, who pretty much wiped the Incan Empire clean, never managed to find it.

    What can deter some low budget travellers from seeing this place is the price; some tour companies will charge up to $500 to get you there from Cusco and back. I’ve seen some 4-5 day tours as high as $2,000.

    However, what I discovered on my journey there is you don’t need the help of a tour company or a guide at all. If you’d like to do Salkantay or the Inka Trail, then you’ll likely need to go with a guide, but if you just want to climb Machu Picchu you can do it solo. The journey is remarkably simple to arrange yourself, and you should be able to get there and back from Cusco for under $200.

    The trip will look something like this:

    Day 1:

    • Bus from Cusco to Ollantaytambo
    • Train from Ollantaytambo to Machu Picchu town
    • Buy Machu Picchu entrance tickets for the following day in Machu Picchu town
    • Spend the night in Machu Picchu town

    Day 2:

    • Early wake up and hike up to Machu Picchu
    • Spend the day in the ruins
    • Come back down and spend a second night in Machu Picchu town

    Day 3:

    • Bus from Machu Picchu town to Ollantaytambo
    • Taxi or bus from Ollantaytambo back to Cusco

    There are other cheap ways of getting there, but in my mind this is the most economical and fuss free way to do Machu Picchu on a budget. Here’s how you’ll do it:

    Step 1: Get your train tickets in Cusco.

    The nearest airport is Cusco, so I’d assume most travellers will be using this city as a base. If you’re looking for a place to stay in Cusco, check out my Cusco Accommodation Guide, which breaks down the best value places in each part of town.

    To get your train tickets in Cusco, head to the Plaza de Armas in Cusco town and look for the Peru Rail office (it’s beside the KFC). This shouldn’t be hard to find. It’s the main plaza in town and your hostel will probably be pretty close to it.

    Ask for a return ticket from Ollantaytambo (also known as Sacred valley) to Machu Picchu town (formerly known as Aguas Calientes).

    I would suggest giving yourself two nights: the first night is so you can get a good night’s sleep before your climb up the mountain, and the second is for a good night’s sleep to rest your weary legs before your return journey to Cusco. It also gives you plenty of time to get there and back, so you can spend a whole day in the ruins and not have to worry about rushing back down to catch a train etc etc.

    It’s a good idea to book your ticket for late to early afternoon. This is because you need to catch a 90 minute bus to the train station, which won’t always run on time. The cheapest ticket might not always be at the most convenient time, so be prepared to shell out an extra $5 for a more welcoming schedule.

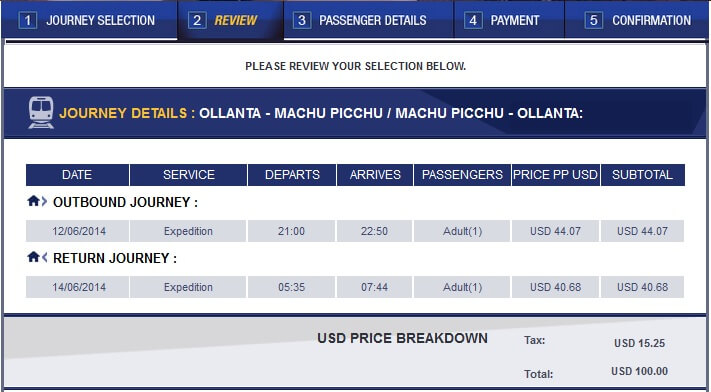
    The train tickets during high season will cost you around $100 USD return.

    You can get a better indication of pricing for your travel dates and even book your tickets at the Peru Rail website.

    machupichu

    Step 2: Bus To Ollantaytambo

    On the day of your journey, get in a taxi and ask him to take you to Calle Pavitos (in Spanish: Quiero ir a la Calle Pavitos, por favor). The taxi ride will cost you no more than 3 soles (around $1) and is just a couple minutes drive within town. Alternatively, you can just use Google Maps and walk.

    The taxi driver will almost certainly know that you’re heading to Machu Picchu and will take you right to the vans. The guys there will be screaming “Ollantaytambo Ollantaytambo!”, and will usher you on board.

    (if you’re wondering, that long name is pronounced Oh-Yarn-Tar-Yee-Tum-Bo).

    The buses don’t run by a strict timetable; they just leave when they’re full. Therefore it’s a good idea to get there early (give yourself plenty of time to get to Ollantaytambo before your train leaves!) The last thing you need is a full bus leaving just before you get there, meaning you’ll be waiting a good hour or so for another one to fill up.

    If your train ticket is booked for 12pm, I’d probably head to Pavitos at around 8am, just to be safe.

    The bus ride is around 1.5 to 2 hours and will cost you around 10-15 soles ($4-$5).

    Step 3: Catch Your Train To Aguas Calientes!

    Once you arrive in Ollantaytambo you’ll probably have a bit of time to wander around. There’s some nice restaurants there for you to catch up on breakfast (or lunch) and it’s a good place to buy stuff you might have forgotten to bring (I bought a goofy looking full brim hat which saved me from some hefty sunburn).

    Then, make sure you get to the station early so you don’t miss the train! It’s not hard to find, the massive crowd of gringos will give it away. If you can’t find it, just ask someone (Dónde está la estación?). From memory it was only a 5 minute walk from the where the van stopped.

    Step 4: Finding Your Accommodation

    Your train will stop at Machu Picchu town, formerly known as Aguas Calientes.

    This is a massive tourist trap (obviously) and everything is madly overpriced. It’s best to have book a hostel beforehand so you don’t have to worry about getting hustled and can go straight to your accommodation.

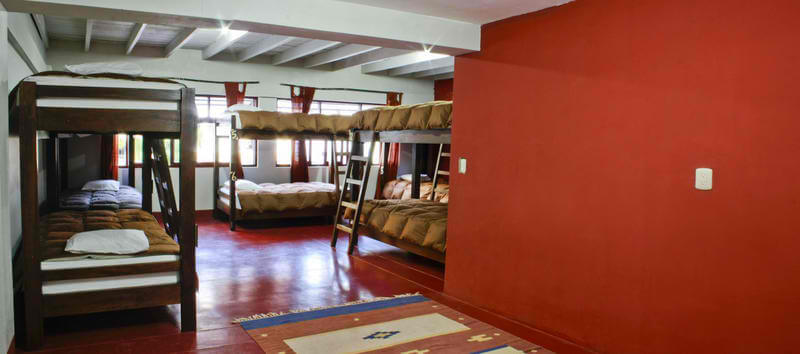
    I can highly recommend a hostel called The Supertramp.

    The beds are comfy and the staff were amazing. But most importantly they had a fantastic hot shower and clean toilets. Perfect essentials, no frills, great price; a budget traveller’s dream.

    Supertramp dorms. Photo: Hostelworld
    Supertramp dorms

    Step 5: Buy Your Machu Picchu Tickets

    This is probably the most important part of it all – remember to buy your tickets beforehand!

    So many people get to the Machu Picchu entrance all the way at the top of the mountain and then realise they can’t buy tickets there. Stupid.

    To get your tickets, you need to go to the Machu Picchu office in the centre of Machu Picchu town. The Spanish name is Direccion Regional de Cultura Aguas Calientes Office. It’s in the main square, not hard to find. Machu Picchu town is pretty tiny, and the staff at your accommodation will surely be able to help. Remember to take your passport and cash (they only accept cash).

    I highly recommend paying the extra to get a pass up to Huayna Picchu (sometimes spelt Wayna Picchu). This is the peak that stands behind Machu Picchu and the views from the top are breathtaking. Only two groups are allowed in; one at 7am and one at 10am. If you want a decent night’s sleep, book for 10am.

    The ticket price for both Machu Picchu and Huayna Picchu together is 200 soles ($62).

    Remember, the visitors allowed into Machu Picchu are limited to 2,500 per day, and for Huayna Picchu the limit is only 400 per day. For this reason, if you’re going during high season it might be wise to get your tickets online. Alternatively, some agencies in Plaza de Armas, Cusco will be able to help you out (for a fee).

    During low season you shouldn’t have any trouble just buying your tickets in Machu Picchu town the day before. I went in November and managed to get tickets for both Machu Picchu and Huayna Picchu the day before at around 4pm with no trouble at all.

    Step 6: The Walk To Machu Picchu

    The idea on the day of the climb is to start climbing really early so you’ll catch the sun rising over the ruins. However, for this to happen you’ll need a cloudless day which is not always likely. Nonetheless, climbing in the early morning cold is definitely preferable to climbing in the early afternoon heat.

    I woke up at around 4am, along with the rest of the hostel, and we all had breakfast prepared by the lovely hostel staffer (I think she must wake up that early every day, poor girl). There’s actually a bus that will drive you up for around $10USD one way, however I can’t recommend it. Part of the beauty in seeing the place is doing the climb yourself, just the way the Incas did back in the day. As you trod up the stairs you can give a thought to the plebs who had to carry the royalty up there on their shoulders. Must’ve been a fit bunch.

    The climb is pretty tough. At that early hour of the morning it will feel like a million stairs and a hundred hours, but if you move at a decent pace you should reach the top in around 60-90 minutes.

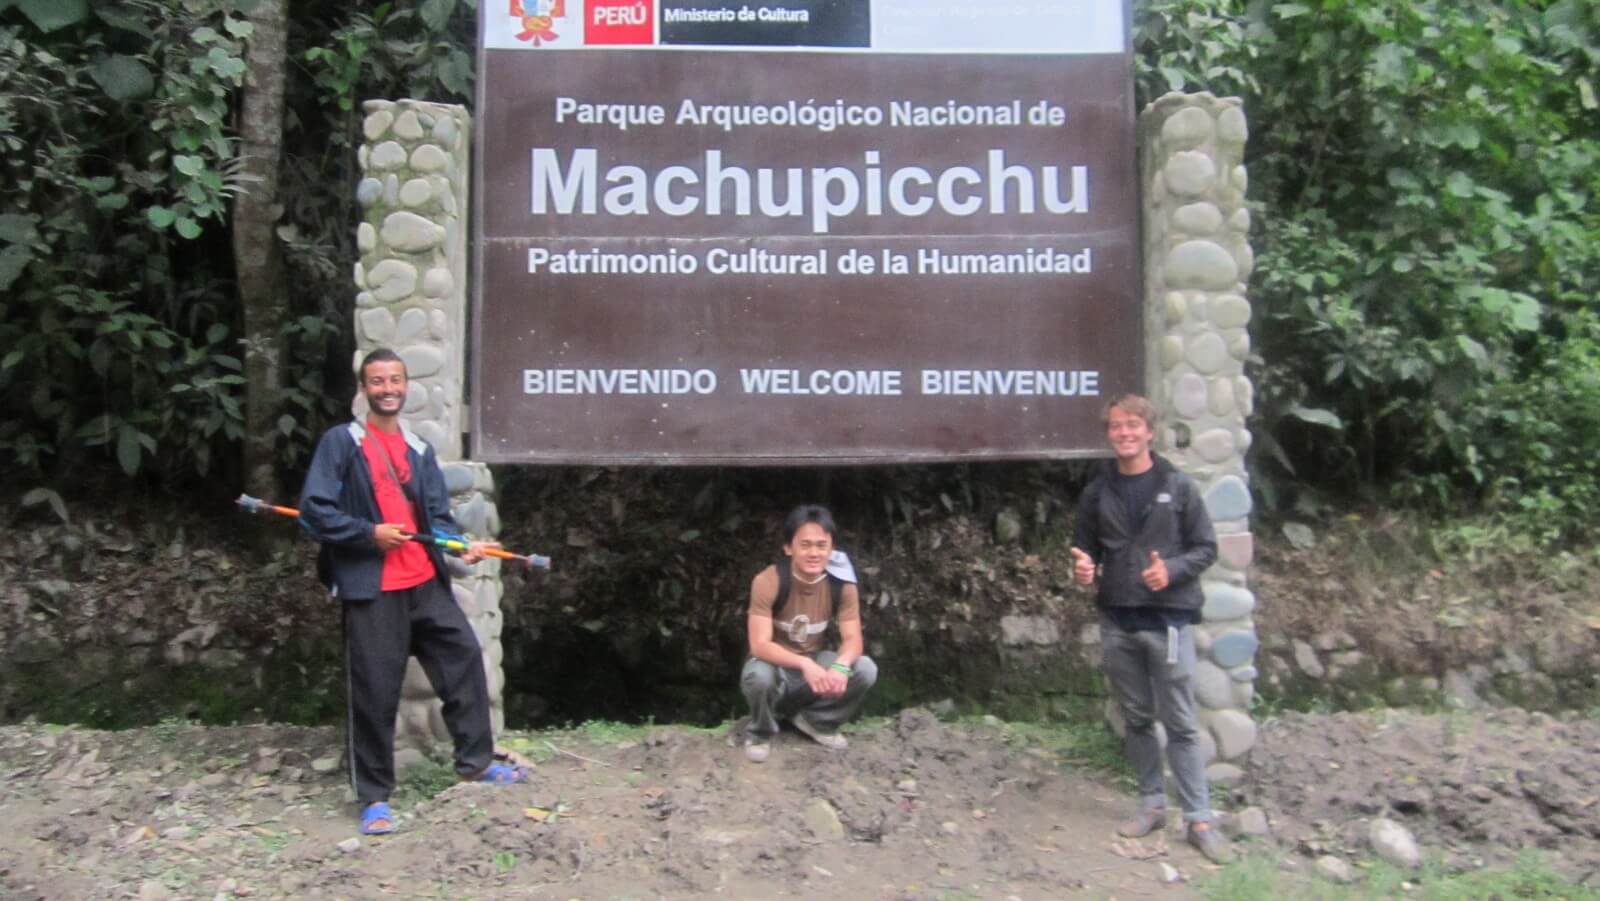
    Finding your way will be easy enough, you’ll simply follow the road until you get to the Machu Picchu sign.

    machu picchu on a budget
    Machu Picchu sign

    From there, signposts with arrows on them will point you in the right direction. If there are buses driving past you every 10 minutes, you know you’re on the right track.

    Step 7: Enjoy Machu Picchu!

    machu picchu on a budget

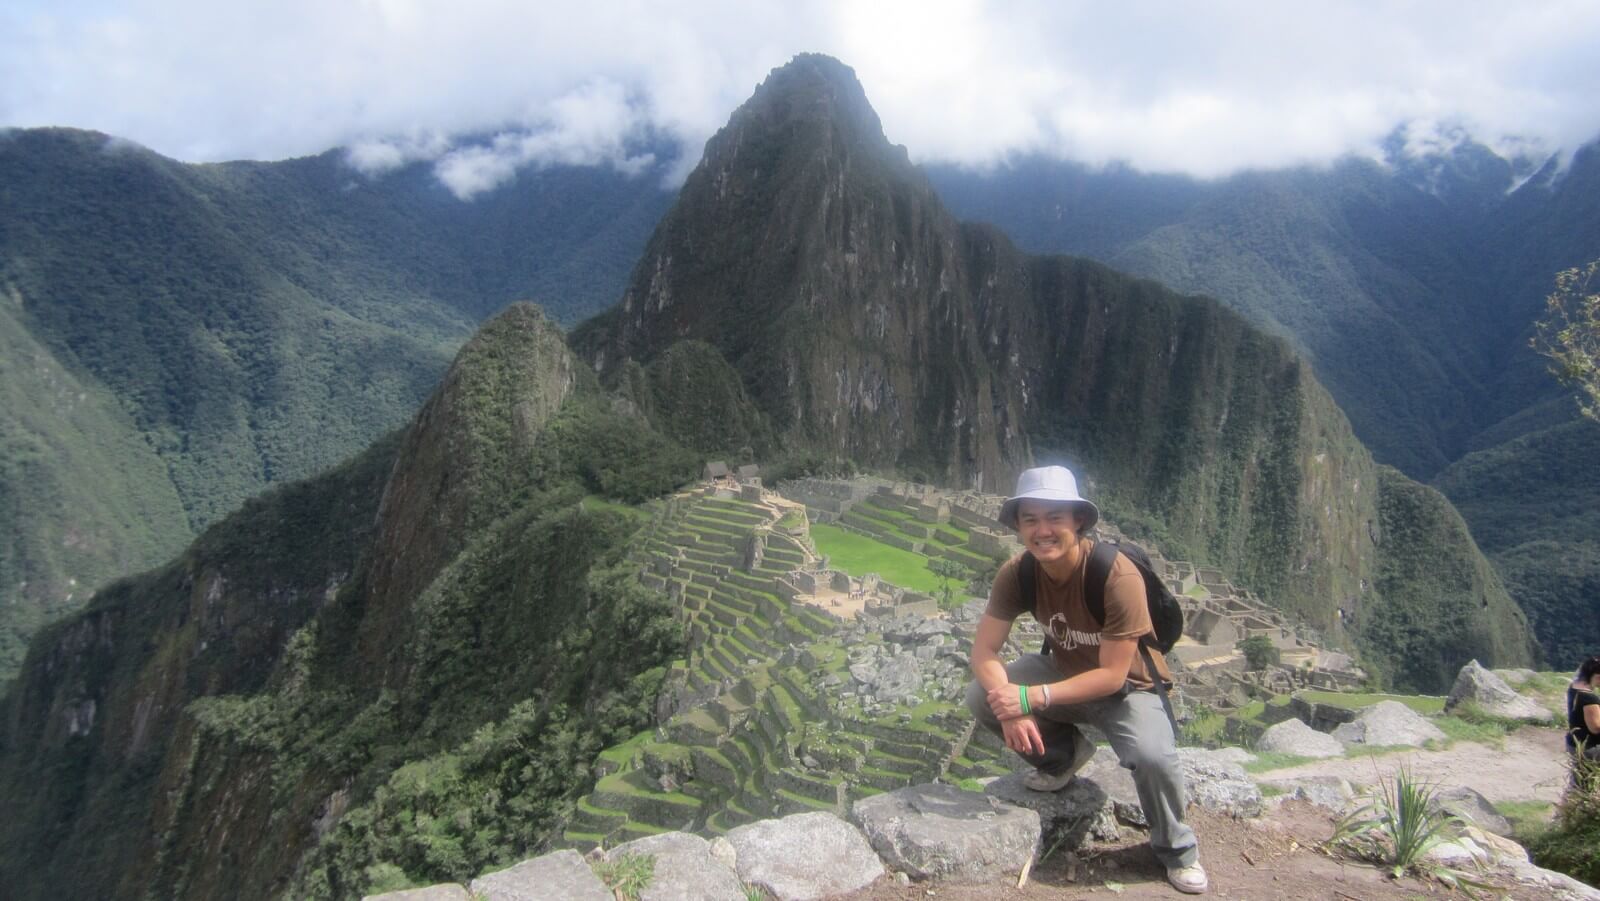
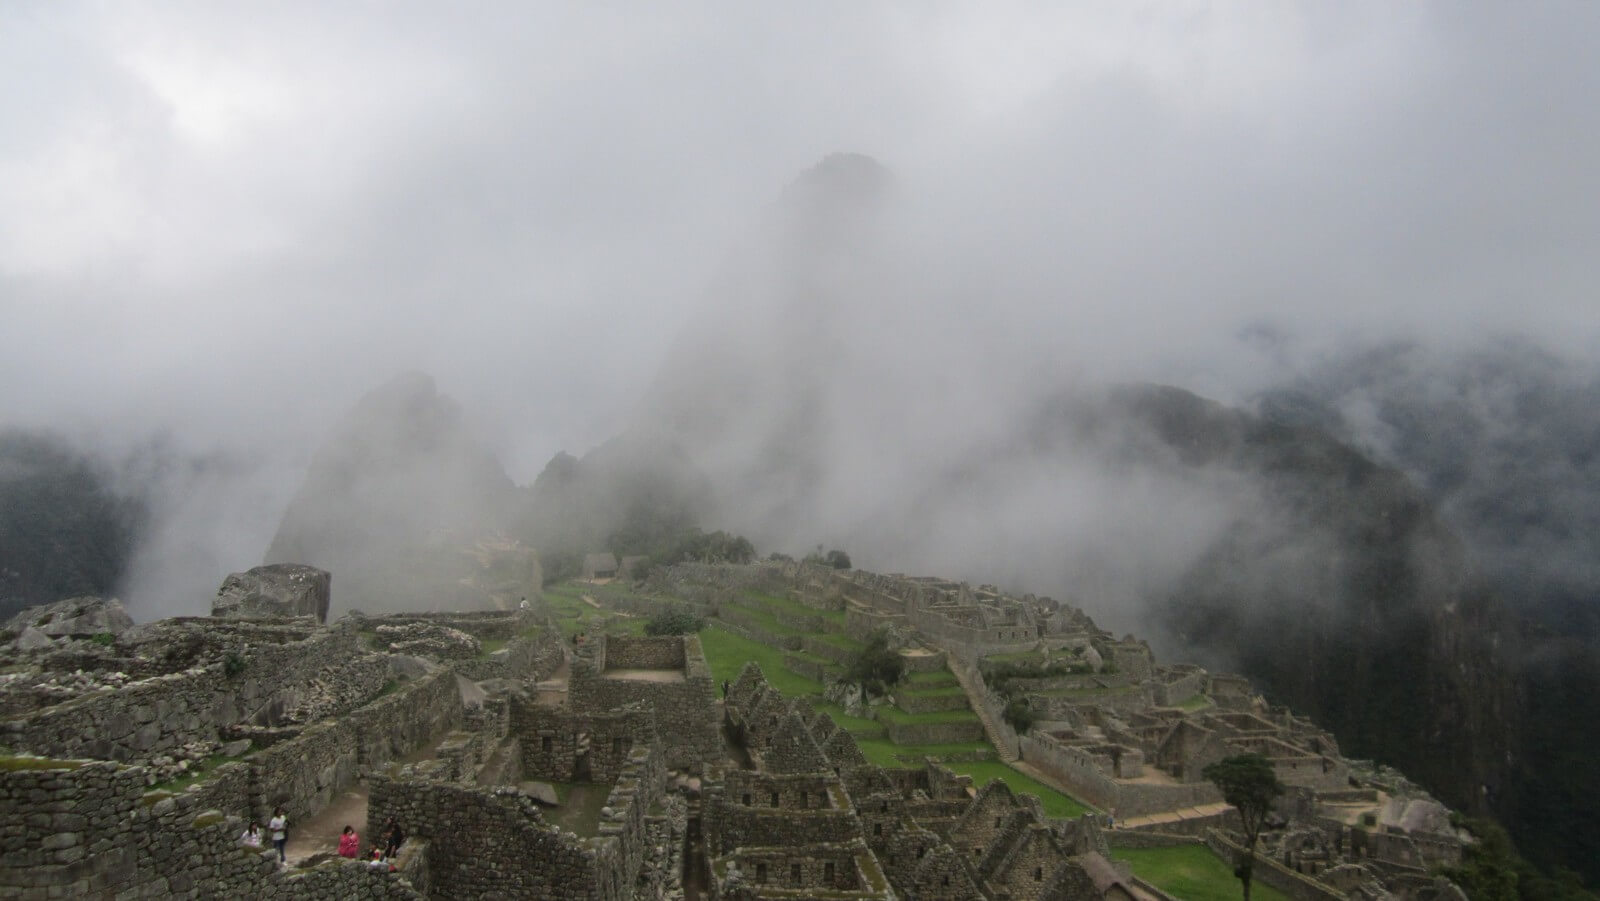
    Once you get to the top you’ll realise why the Spaniards could never find the place. It’s so far up in the clouds that they surely would’ve given up climbing before they even made it halfway.

    machu picchu on a budget

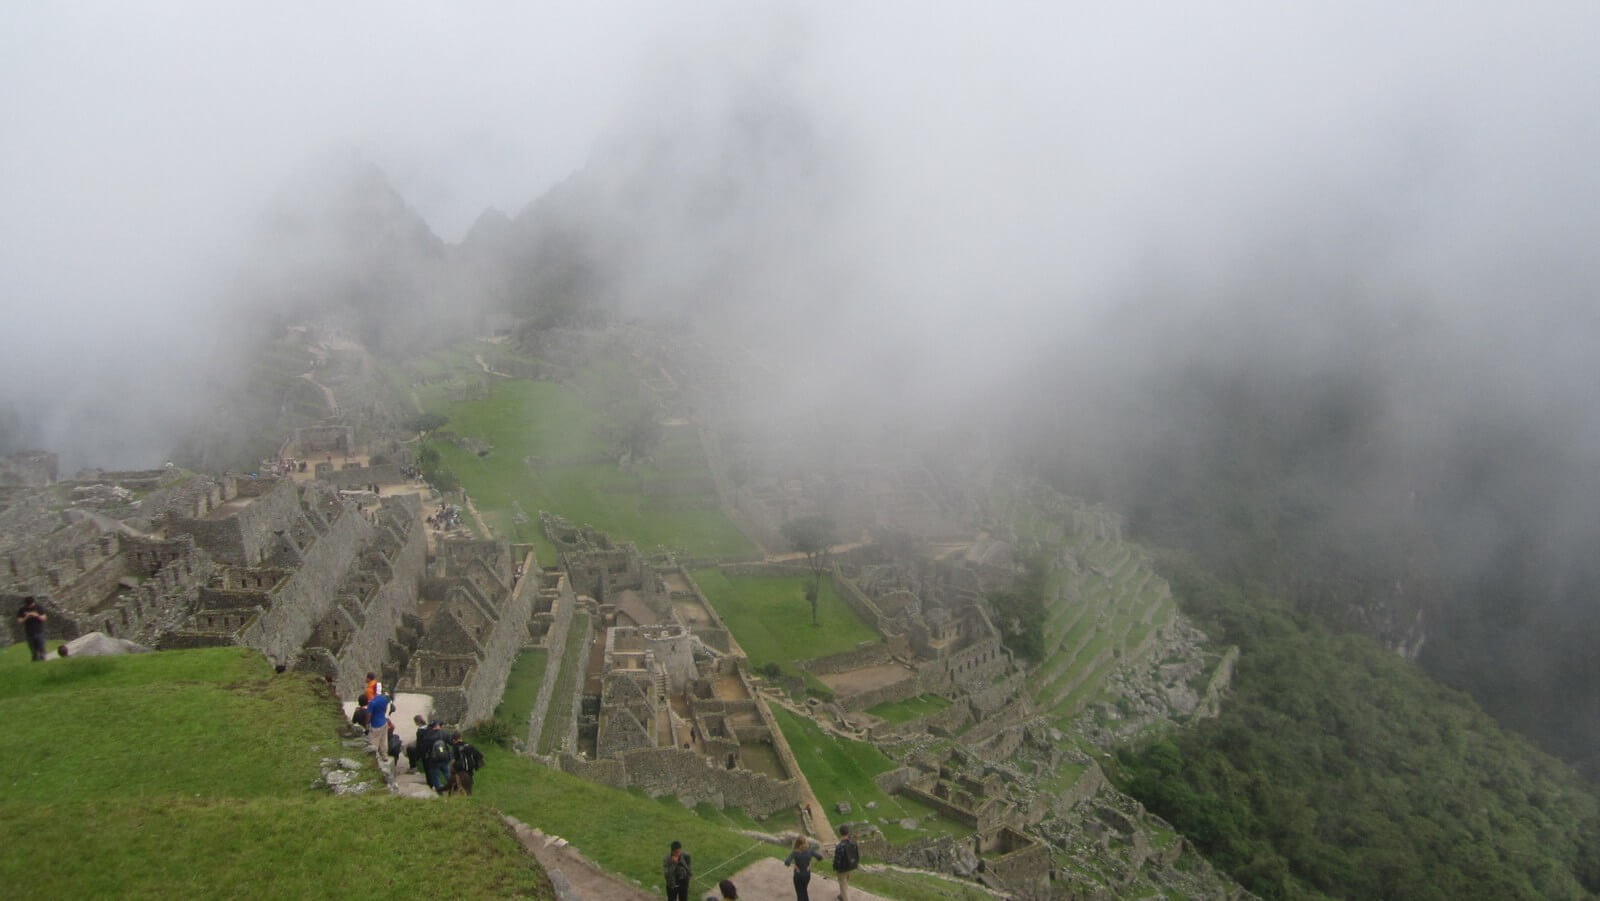
    Them resting upon the clouds makes them appear that much more mystical. Before I got there I kept wondering “How cool can a bunch of ruins really be?” The truth is, this bunch of ruins exceeded every expectation. It’s pretty magical.

    machu picchu on a budget

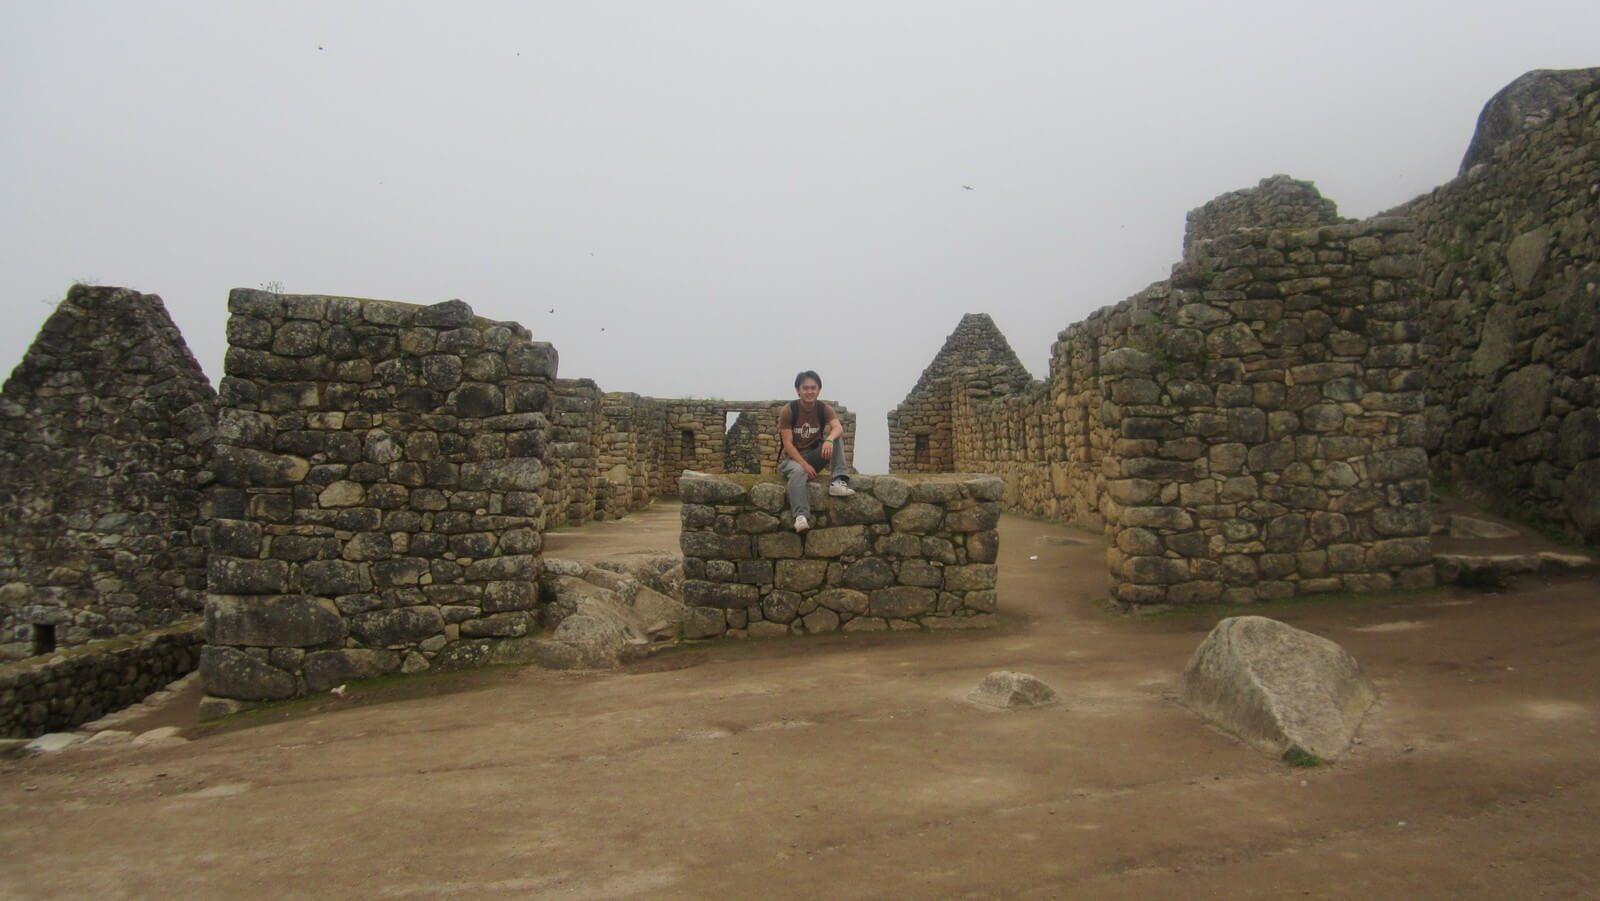
    The postcards make the place look deceptively small. You can easily spend a couple of hours getting lost in the ruins and not even get through all of it.

    machu picchu cheap

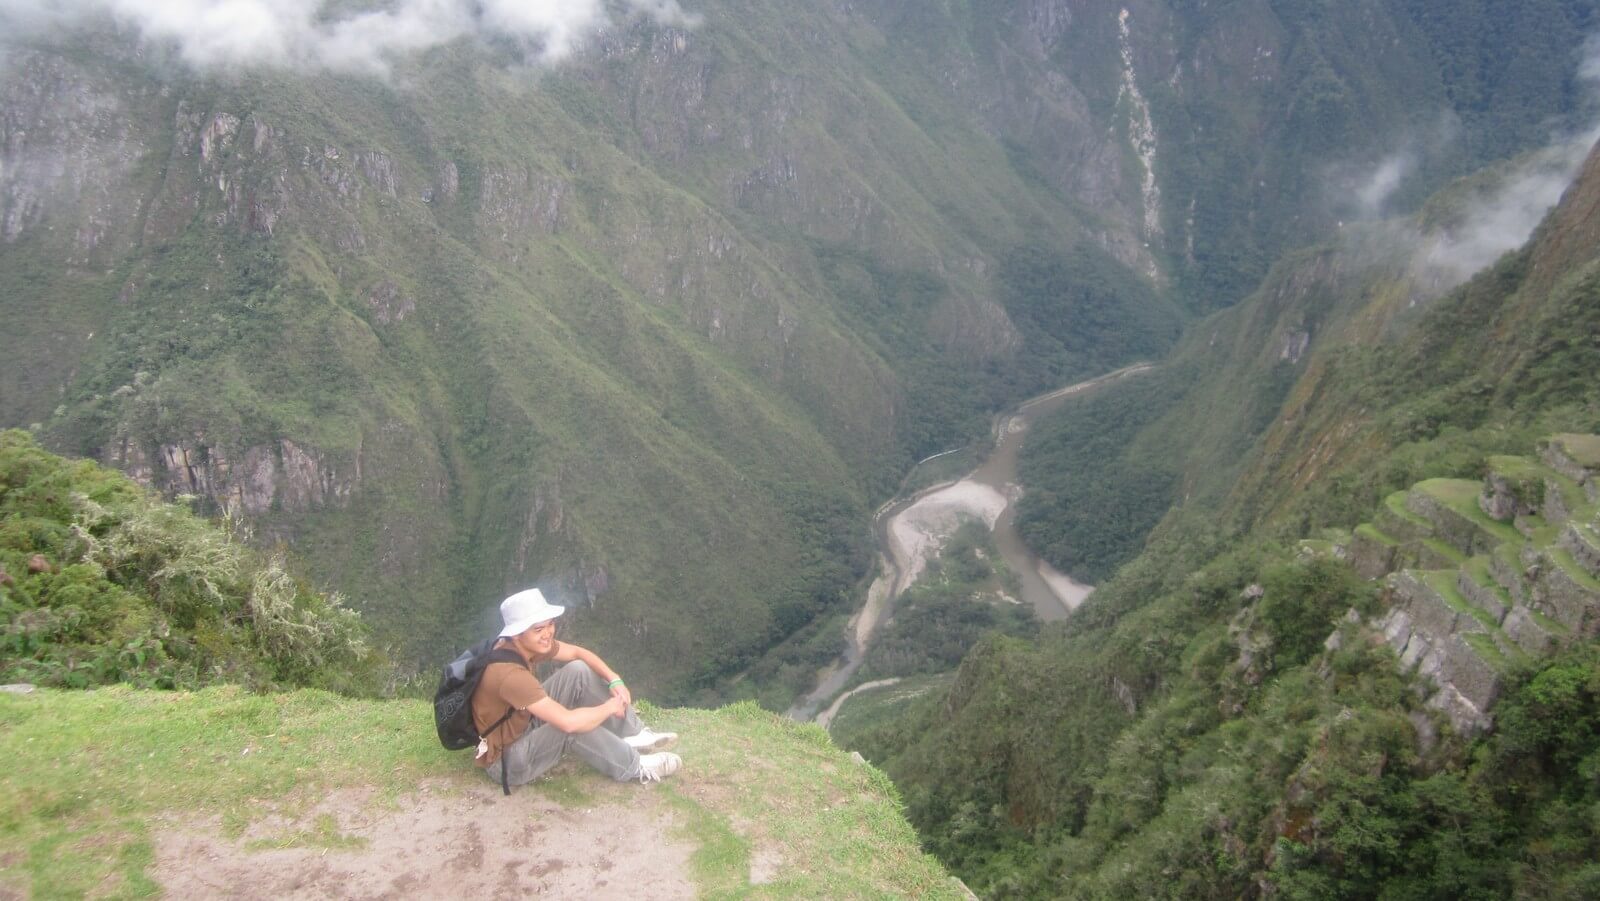
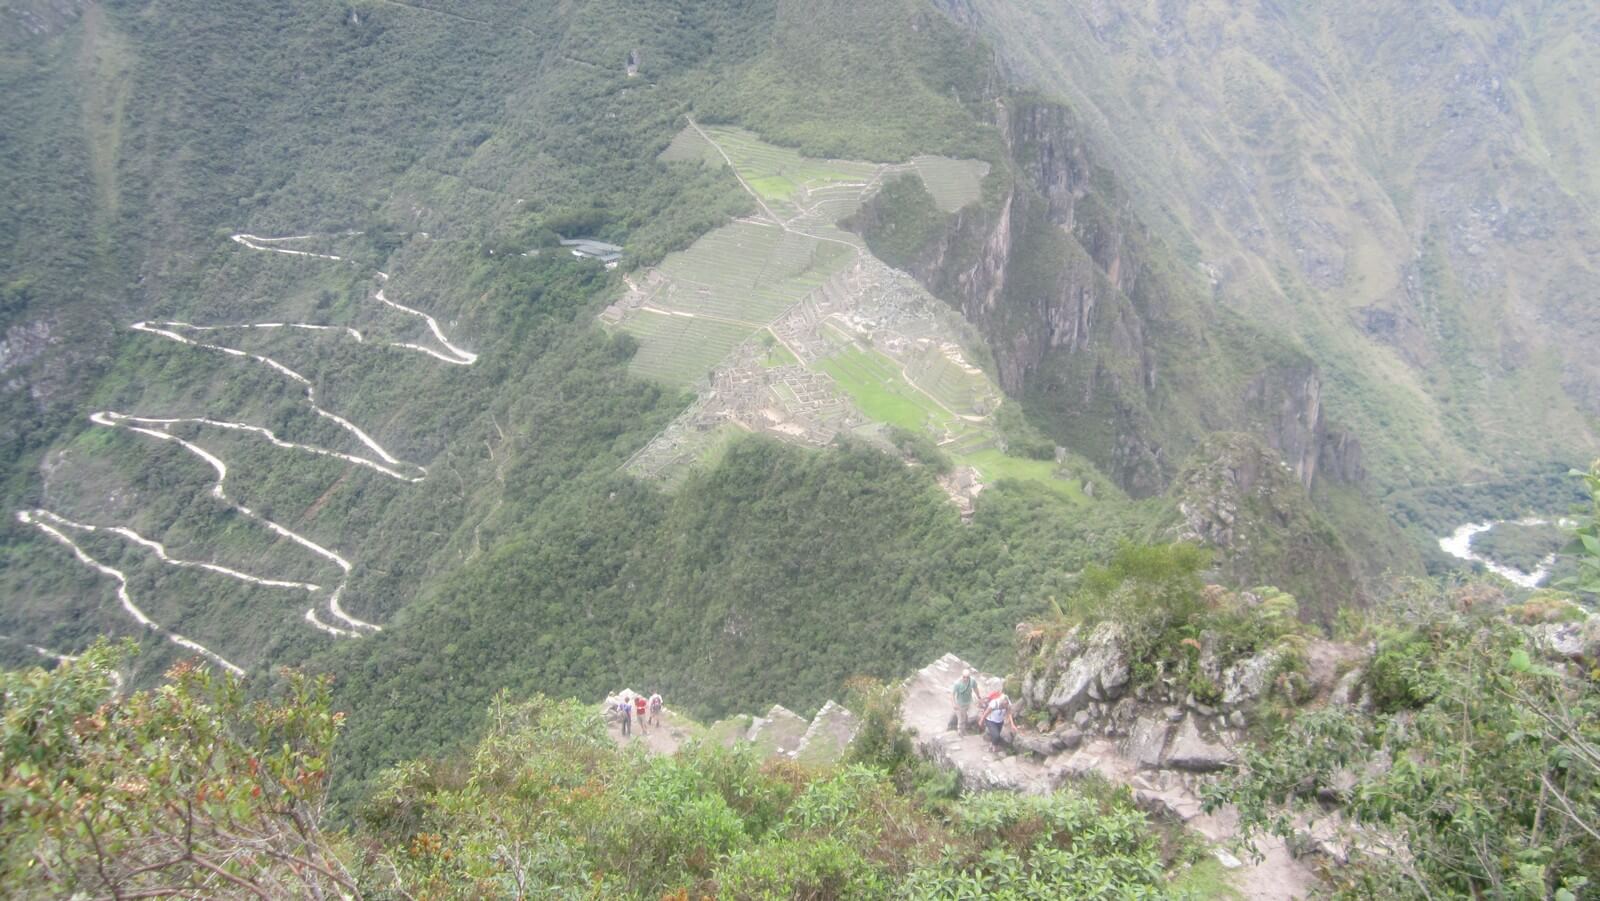
    I was also really amazed at the lack of safety measures. One wrong step and you could easily go tumbling to your demise. Take a peek over the edge and you’ll agree it’s a long way down.

    machu picchu cheap

    If you woke up early enough, you should have at least 2-3 hours free to explore before your group’s timeslot for Huayna Picchu.

    Step 8: Climbing Huayna Picchu

    My best advice is to get to the Huayna Picchu entrance early. The climbing path is narrow and if you’re in the middle of the pack you’re bound to be stuck behind your fair share of oldies waddling up at 0.000004 km an hour.

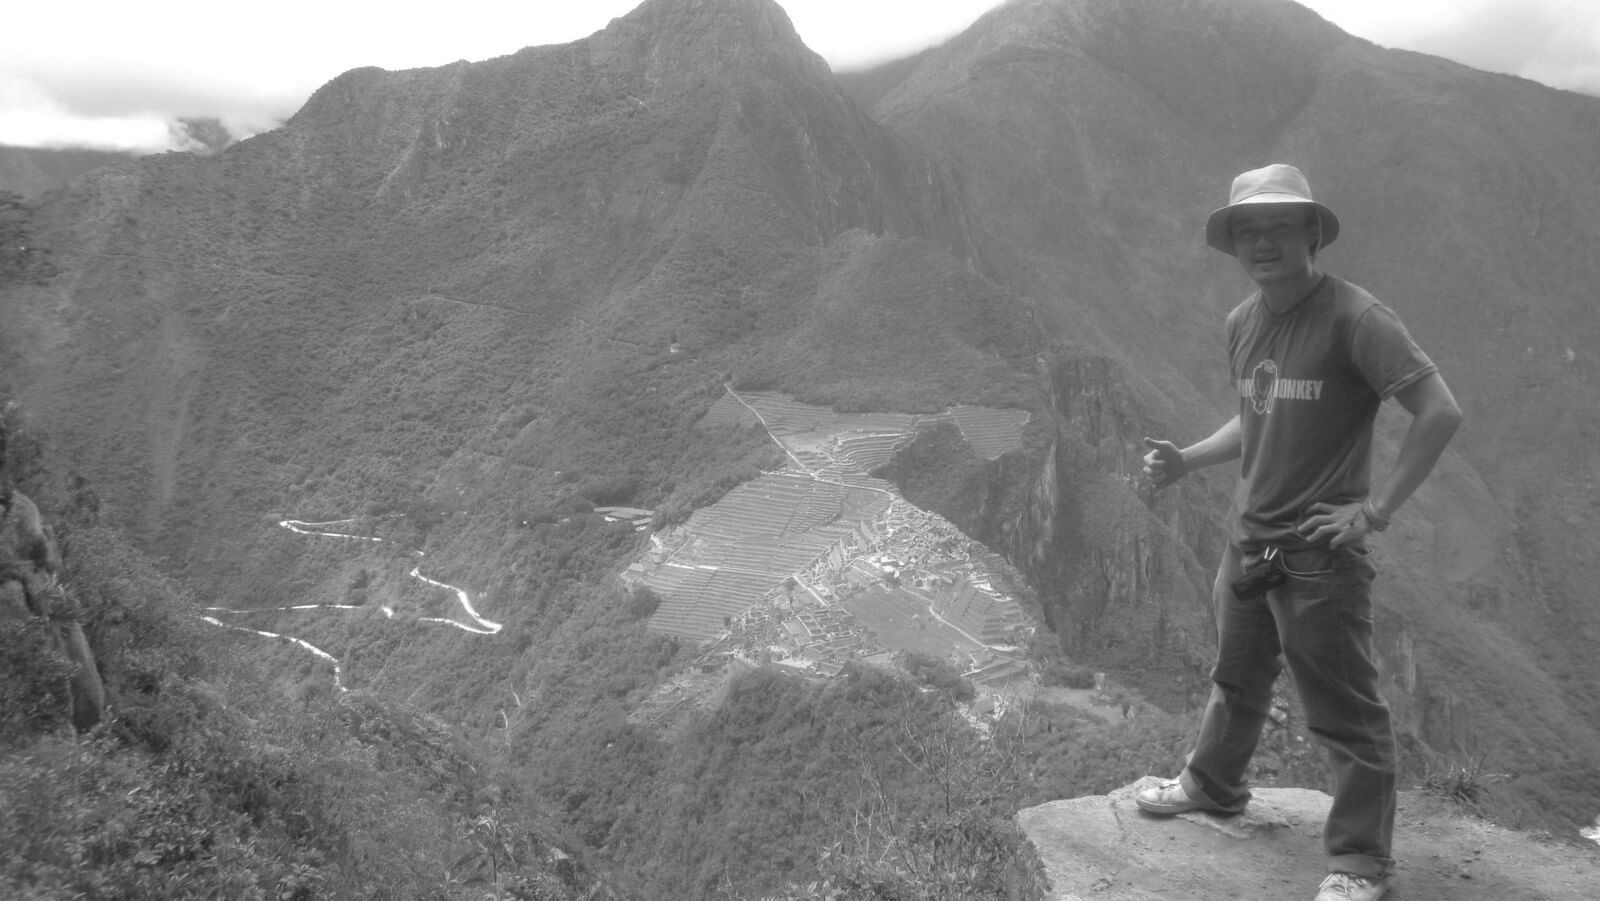
    I was the third person through the gate and legged it full speed, getting to the top before everyone else. That meant I had the peak to myself for a good 15 minutes! Definitely worth the extra effort. A couple of Aussies arrived next and we sat up there having a yarn, perched on the top of the world.

    Huayna Picchu on a budget

    Note, if you have a fear of heights, you’re probably going to poop your pants up there. It’s so high up that it makes Machu Picchu look like a little Lego castle. There’s no safety railings or anything either. While it’s most likely just another tall tale, a couple of guys in Cusco were telling me that two people went over the edge that year and never came back. While it may not be true, I can easily see it happening. Be careful!

    machu picchu on a budget

    There’s a little side journey on Huayna Picchu which I only know as “the cave”. Everyone kept telling me “Don’t go to the cave, don’t go to the cave.”

    So, I went.

    machu picchu budget guide
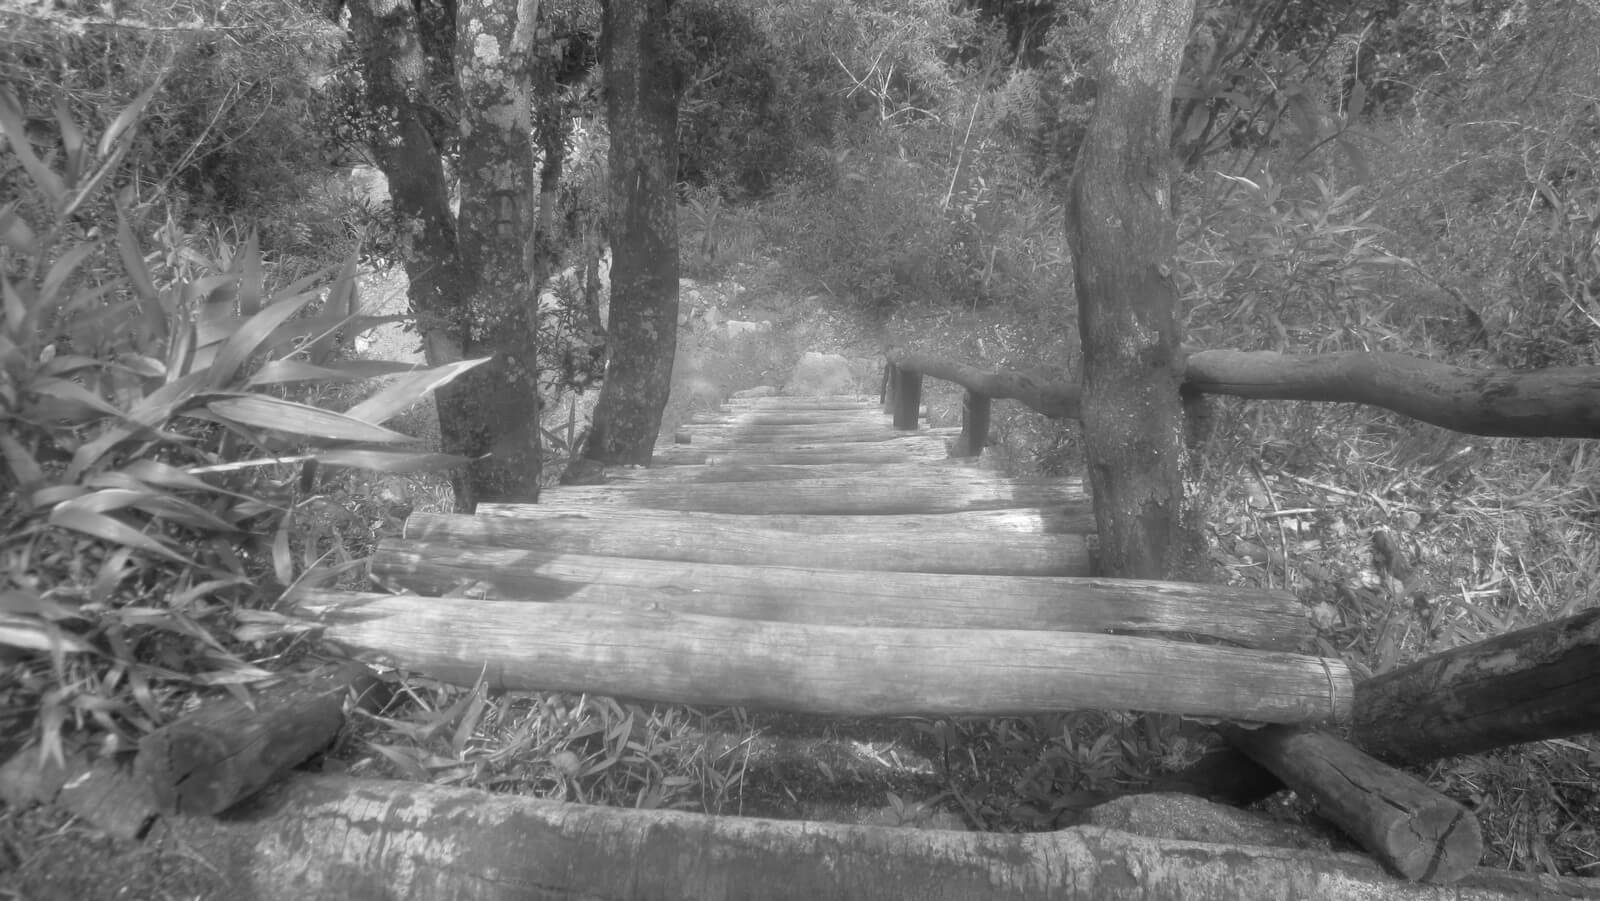
    The journey to the cave is full of surprises

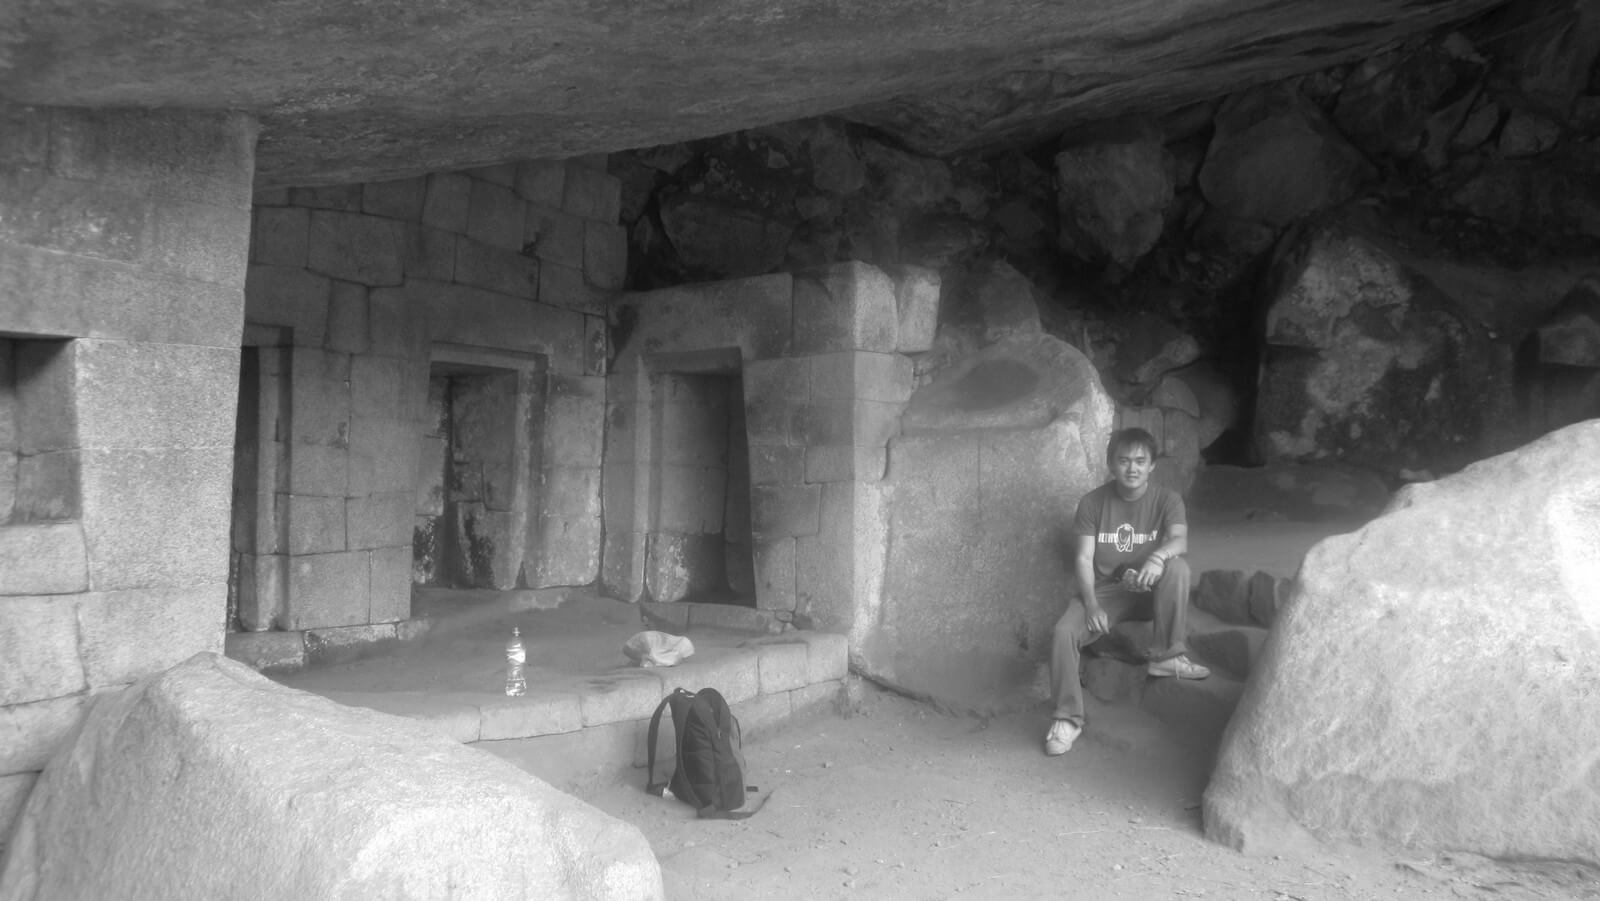
    What a flop. It takes around 2 hours to hike down and around to the other side of the peak to where the ‘cave’ is, and when you get there it really is nothing more than a little cave. Coming to think of it, I’m not sure why I expected anything more than that. Apparently it was some sort of temple or something. Once you see it, there’s nothing to look forward to except the 2 hour hike back.

    machu picchu cave on a budget
    The “cave”

    Your time in Huayna Picchu is limited to 3 or 4 hours, I can’t really remember. Just make sure you get out in time.

    Step 9: Getting back down to Machu Picchu Town

    Once you get back to Machu Picchu and decide to head home, you can either take the bus down for $10 or walk. In my best effort to be the toughest guy ever, I walked. What’s another zillion stairs at the end of the day. A quick tip here is to not buy the $5 waters that they sell at the entrance. Wait 5 minutes until you get out of the park and there will be some local hustlers selling snacks and water for much more reasonable prices.

    It’s a long day; if you hike up, down, walk around Machu Picchu, climb Huayna Picchu, go see the cave, and hike all the way back down, you’ll probably rack up a good 8 hours+ of walking. Reward yourself with a hot shower and then head to an overpriced restaurant to treat yourself to the best crappy $30 pizza you’ll ever have.

    More tips for Machu Picchu on a budget

    • Take sunscreen, a hat, and lots of water. At this altitude you’re pretty close to the sun and he won’t take it easy on you.
    • You don’t need hiking boots. One dude I climbed with was wearing flip flops and survived. I just had a pair of sneakers and didn’t die. The climb is not slippery or hazardous (unless it rains, maybe).
    • Take snacks. It’s a long day and you can’t buy much food up there. If it weren’t for my cookies I might have died on Huayna Picchu.
    • If you haven’t spent too much time in Cusco or at altitude, your body probably won’t be acclimatised. You could get altitude sickness on the climb. You can buy oxygen in Cusco for $10 a can, otherwise, get those anti altitude pills or whatever they are, ask your doc.

    Machu Picchu on a budget in numbers:

    Using the above itinerary your bankroll should look something like this:

    Bus from Cusco to Ollantaytambo: $4

    Train from Ollantaytambo to Machu Picchu town and back: $100

    2 nights at the Supertramp: $20

    Tickets for Machu Picchu and Huayna Picchu: $62

    Bus (or taxi) from Ollantaytambo to Cusco: $4

    Total: ~$200 for a DIY trip to one of the world’s true wonders. Enjoy!

    Heading to Machu Picchu?

    • If you’re looking for affordable accommodation in Machu Picchu Town, I highly recommend the Supertramp.
    • Do not climb Machu Picchu without travel insurance. Accidents are common there, especially with the altitude, and you’re looking at an extremely high bill to get any kind of emergency evac/treatment. I use World Nomads.
    • For more useful resources for your trip, check out my Travel Resources page.
  • City Blueprint: Cusco, Peru

    City Blueprint: Cusco, Peru

    Cusco is a cozy little city in the south of Peru. At first glance it feels like just another tourist hotspot overwhelmed by westerners but beneath the surface there’s a little more to it. The city has a very homely feel and its narrow alleyways and cobblestone roads give it a unique South American charm that’s not quite as prevalent in the neighbouring countries such as Chile or Ecuador.

    The welcoming spirit makes the culture and people of this city rather endearing and I was somewhat enamored with the place by the time I left. You can definitely feel the western influence that has crept in but getting under the skin of the city reveals a lively latin culture that you will surely find intoxicating.

    Budget

    Bed: Hostel dorms start at around $5 USD. Hotels range from $30 up to the extravagant.

    Food: Eating in the local joints will have you well fed for around $2 a meal.

    Drink: A bottle of water will cost around 75 cents. A beer in a bar will cost you around $2.

    Transport: Taxi rides will be around 3 soles ($1). You shouldn’t pay anymore than 5 soles ($1.75) to get anywhere in the city.

    I stayed at…

    Pariwana Hostel I spent about 2 weeks staying here, and in terms of value for money it’s easily the best hostel I’ve ever stayed at. Here’s why:

    • The cheapest dorm bed will cost you around $8 a night. That includes bread, jam and juice for breakfast. You get 2 pillows and the bed was more comfortable than my own bed at home.
    • There’s free wifi and around half a dozen computers that are free to use, as well as a TV room.
    • There’s a restaurant and bar in-house that serves great food for around $5 a meal – breakfast, lunch and dinner.
    • Free tea and coffee all day.
    • Dorms have massive lockers with power plugs inside.
    • 5 minute walk from the central plaza and 24 hour security.
    • Awesome hot showers and clean toilets.
    • Tour desk, activities each night and a kitchen.
    • Free bag storage while you go to Machu Picchu.
    • English speaking staff who know exactly what they’re doing.
    • Noise free zones around the dorms at night.

    What more can you ask for?

    For more information on where to stay in Cusco, check out my Cusco Accommodation Guide.

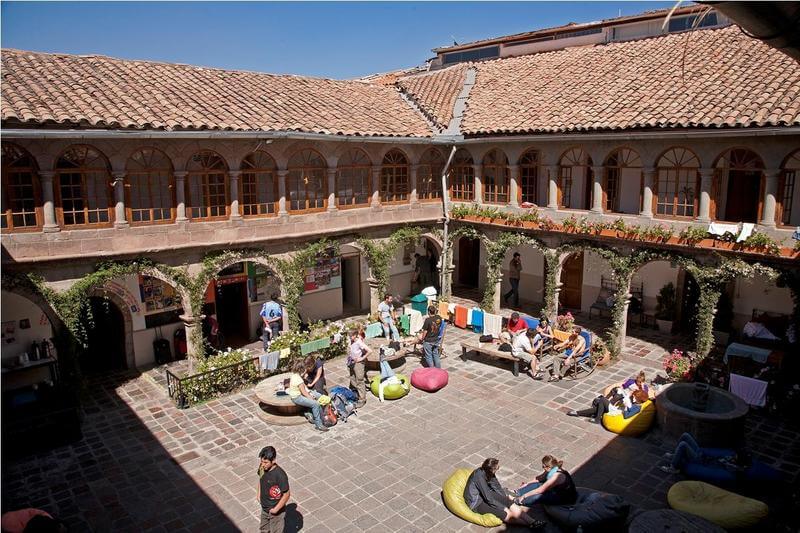
    Pariwana Hostel courtyard. Photo credits: Hostelworld
    Pariwana Hostel courtyard. Photo credits: Hostelworld

    One thing you should eat is…

    Lomo Saltado – This is a Chinese inspired dish, most likely invented by the Chinese immigrants that scrambled the motherland and ended up in Peru looking for work. It’s a kind of like a Latin chop suey – beef, veges and potatoes stir fried in Asian flavours and served with white rice. While I was in Cuzco this was my go-to dish for whenever I needed a hearty meal. Look for it in one of the “chaufa” restaurants around town, which are basically Chinese restaurants with a Peruvian twist.

    Pisco Sour – Chileans and Peruvians argue all the time about who invented this zingy cocktail. It’s made using Pisco – a type of brandy that’s native to Peru (and Chile, apparently). The other ingredients consist of a bit of lime or lemon juice, some bitters, and a drop of egg white, which I suppose gives it the frothy topping. I’m a huge fan of lemon, lime and bitters, so this drink quickly became one of my favourites. Peruvians love this drink too, almost as much as their Inka Cola. There’s even a public holiday dedicated to it!

    One place you should go to is…

    While the obvious tourist hotspots around town are well known, quite a few people miss out on the Molino market. It’s really not too different from street other markets around the world, but it’s a great place to do some cheap shopping. The vendors are far more pleasant to deal with than China’s “This scarf very special material will only cost you five thousand dollar!” types. I bought my fair share of stuff here – locks, dress shoes, jacket, movies, booze, toys. All at great prices too. To get there, simply tell the taxi driver you want to go to Molino. They all know where it is and it’s only a 5 minute drive from the centre. Great place to pick up souvenirs, too.

    One place you should party at is…

    Plaza de Armas! In all honesty, almost all the clubs around here are the same. If you head to the Plaza at night there will be promoters from each of the different clubs wandering around offering free drink tickets (sometimes they’re around during the day, too). Once you’ve finished your drink, you can head outside and get another one! Backpackers love this town because you can go out every night of the week and not spend a single cent. It’s not hard to see where it gets it’s reputation as the booziest town in all of South America.

    Inka Team

    Bren’s Scorecard…

    Ease of entry 5/10
    It has it’s own airport, but most flights come in via Lima. The bus is horrible by most accounts. Only direct flight I know of is from La Paz, Bolivia.

    Food 6/10
    Local food is very different, and lot’s of good western options around too. However not a whole lot of variety.

    Weather 5/10
    As long as you avoid the rainy season, it’s not too bad. However at this altitude it can get pretty chilly at night, and if your body doesn’t like the altitude you won’t be feeling too great for the first few days.

    Safety 9/10
    It’s a very welcoming city, with good tourist infrastructure and a heavy police presence. I used to walk around alone after midnight and never felt in danger.

    Transport 8/10
    Taxis are very cheap (around $1 anywhere in town).

    Friendliness 8/10
    A couple of taxi drivers tried hustling me here. However most people are very pleasant, and street sellers are generally good at respecting your space.

    Cleanliness 8/10
    In the main tourist spots it’s pretty much spotless.

    Daylife 5/10
    There’s a few adventure spots in the surrounding areas, but the city is small and doesn’t offer much (if you’re into ruins, there’s quite a bit of that).

    Nightlife 7/10
    Always lively, but lacks variety.

    Affordability 9/10
    Outside of the heavy tourist spots, it’s so cheap! A decent 3 course meal gets as cheap as $1.50.

    Cuzco scores: 70/100

    I do my best to give an objective score based on my own experience of the city. If you disagree, I don’t care! Just kidding, I do 🙂 Did your experience differ to mine? Let me know in the comments below!